To make the Tall Triangle quilt (http://imkeepingbusy.blogspot.com/2015/06/3-completed-music-quilts.html), I first had to design an isosceles triangle template.
Start with a rectangle, 8" tall by 5" wide. Mark the center top.


Cut the triangle out of a piece of template plastic. It is not very thick plastic, and when I was cutting fabric, I sliced into the side of the template.


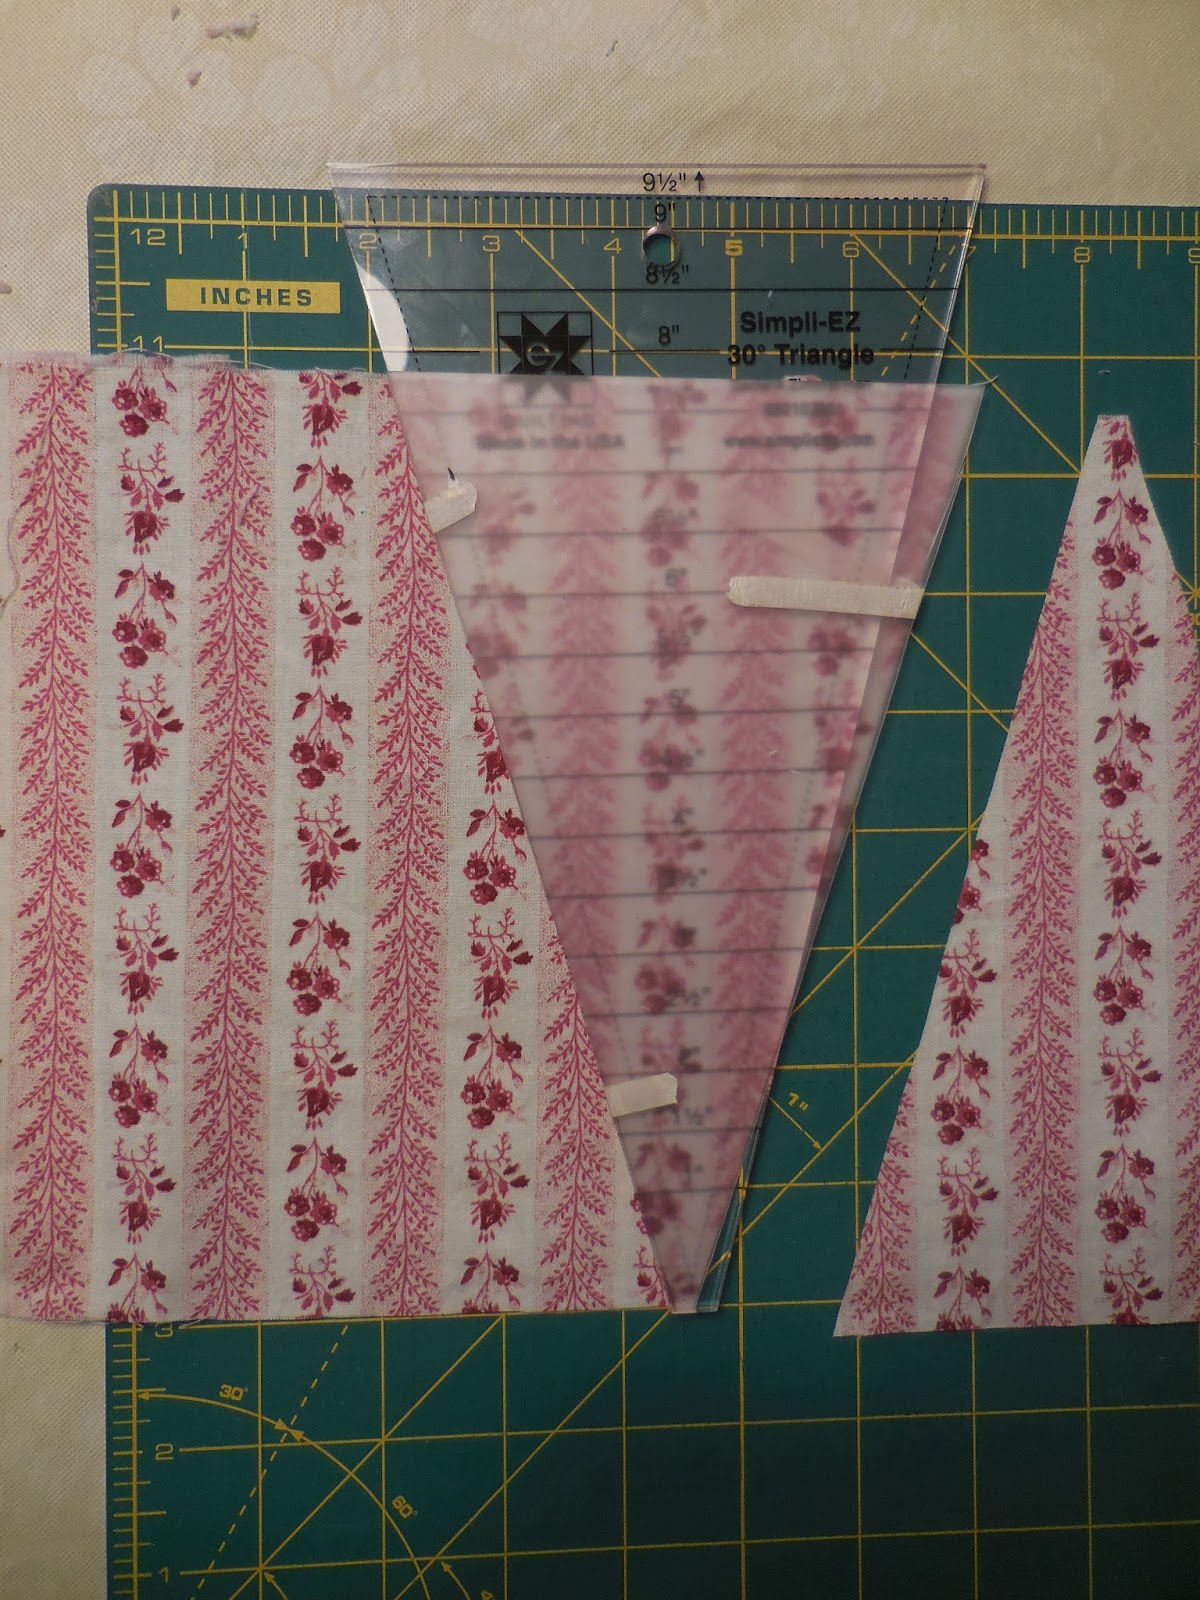
So I taped the template to my 30 degree ruler to stabilize the cutting edge. My triangle is smaller than 30 degrees; I wanted the triangle to be narrower at the top and wider at the bottom.

Fabric is cut 7.75" by the width of fabric. Line the bottom of the template up with the edge of the fabric. Notice that the ruler looks crooked, but that is because I am not following the ruler's lines. I am following the template.


Lay them side by side, then flip one onto the other.


My quilt had 10 different fabrics, sewed together randomly. I did use extra amounts of the focus fabric and the red fabric.
1 comment:
Tanks!
Post a Comment